
Help Center » Lesson 2: Creating a connector with an SFTP file
Menu
Help Center » Lesson 2: Creating a connector with an SFTP file
Step by Step Guide:
Step 1: Go to the Organization Portal and navigate to the Automate merits folder on the left. At the top or in the center of the page, click the Automate merits tab.
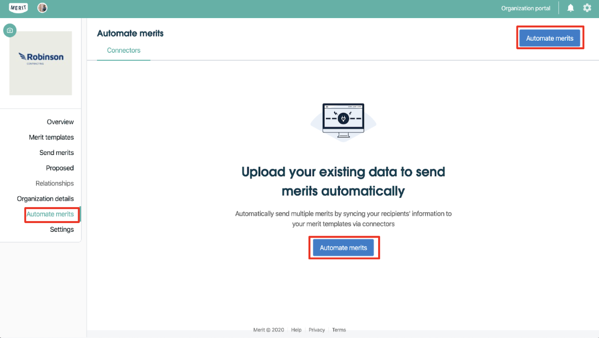
Step 2: Create a connector by selecting where you store your recipients’ information.
Click on Secure FTP.
Step 3: Log in to the secure FTP and enter your:
sFTP server domain or IP address
Username
Password
Port (optional)
Step 4: Name your connector to represent the merits that will be sent from this connector.
Type the name in the Connector name box.
Type in a Description (optional).
Select between daily or weekly syncs in the sync frequency box.
Click Next, upload a file.
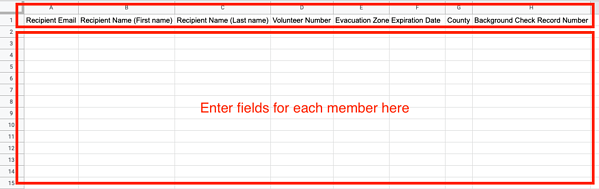
Create a .csv file that includes all of the fields associated with that merit template, as well as fields that need to be filled out. There must be fields for Email, First Name, and Last Name.
For any records that do not have an email address listed, a merit can be created that can be accessed in the Relationships section of your organization’s admin dashboard, but the merit will not be sent to anyone until the email address field is populated. This feature currently has to be switched on manually.
Contact help@merits.com if you would like to use this for your organization.
Step 4: Fill in your .csv file with your member information. Do not delete the column headers or the .csv file may not import appropriately.