Help Center » The basics of creating a certificate in Credential Creator
Menu
Help Center » The basics of creating a certificate in Credential Creator
1. Have an organization on Merit
Credential Creator is only usable to those who have full admin privileges for a verified organization on Merit. If you have not yet registered your organization on Merit, you can learn how to do so here.
2. Create a merit template
Make sure to have a merit template to which you would like to attach the digital certificate from Credential Creator. The merit template should have a field for each piece of information that you would like to include on the digital certificate.
3. Create a blank certificate
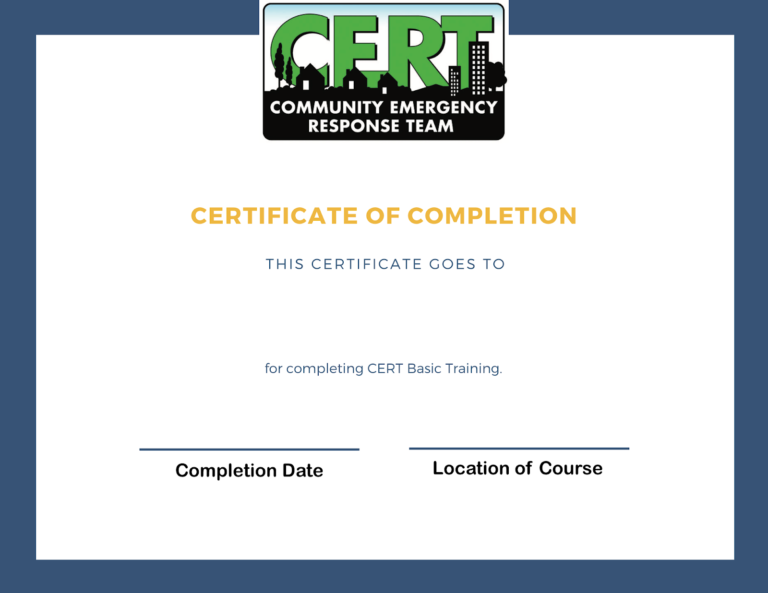
You will need to have an image file (PNG or JPG format) to use as the background image of your certificate. It should have blank spaces where the customized fields will be.
Note: You can use any image editing software to create your blank certificate. There are some sites, such as Canva, that offer templates for certificates.
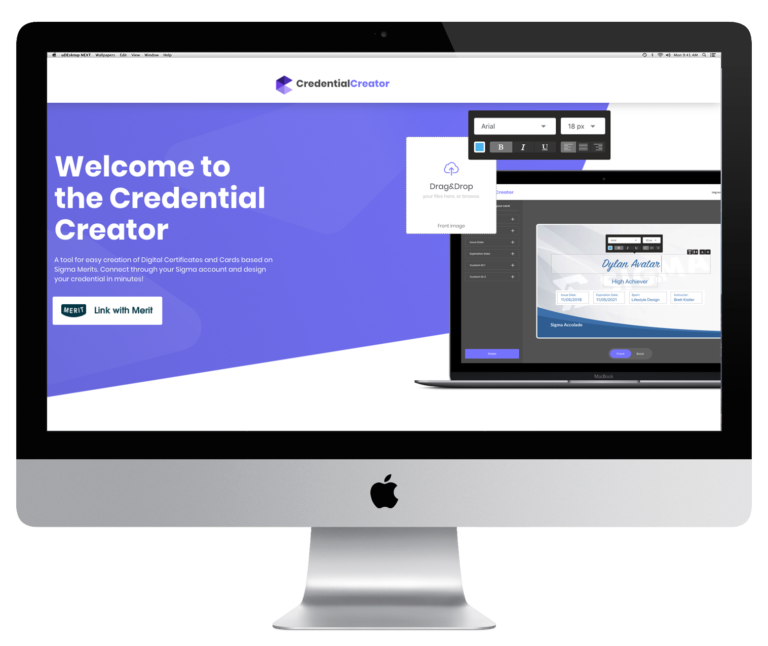
Start using Credential Creator by visiting credcreator.com and clicking Link with Merit.
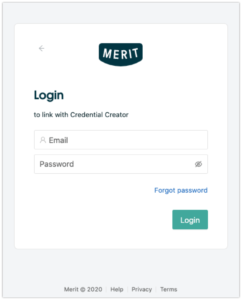
If you’re not already logged in to Merit you will be prompted to sign in using your email address and password. You will then be prompted to select the organization you would like to connect to Credential Creator.

You will be prompted to grant permissions to Credential Creator to manage your organization’s merits. Choose Allow.

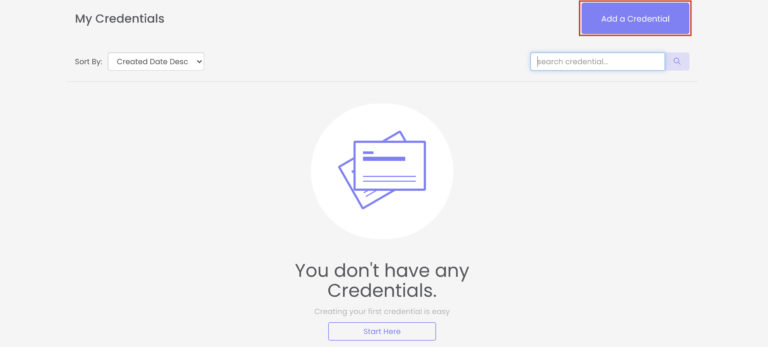
To begin customizing your first digital certificate, start by clicking on Add a Credential.
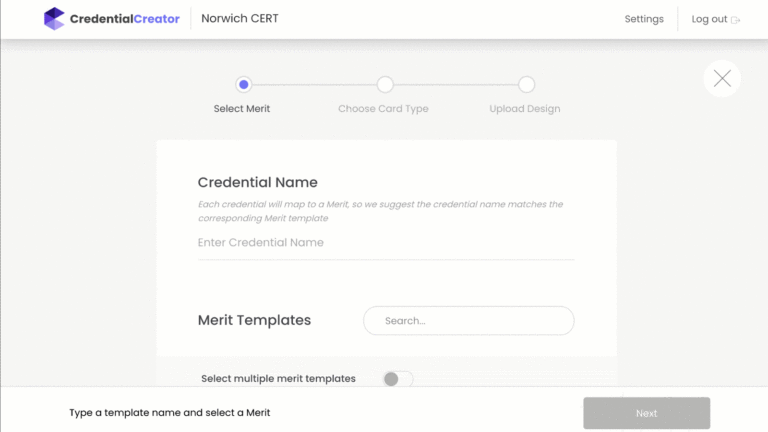
You will see a list of all of your organization’s merit templates. Select the merit template for which you would like to create a credential. Give your credential a name; by default, the Credential Name field will be populated by the name of the selected merit template. Click Next.
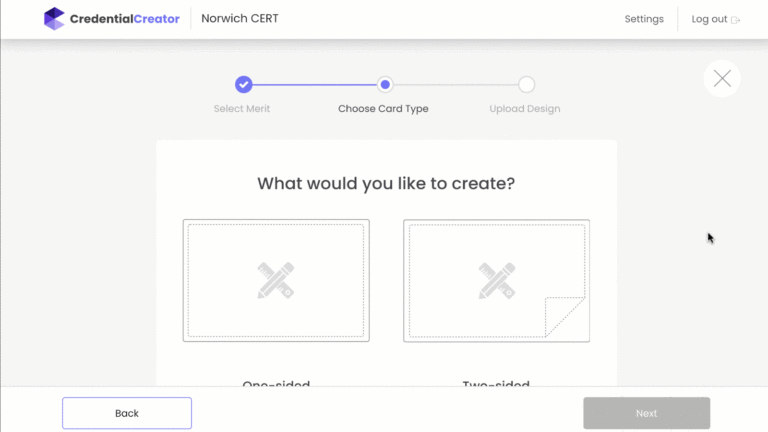
Choose whether this digital certificate will be one-sided or two-sided.
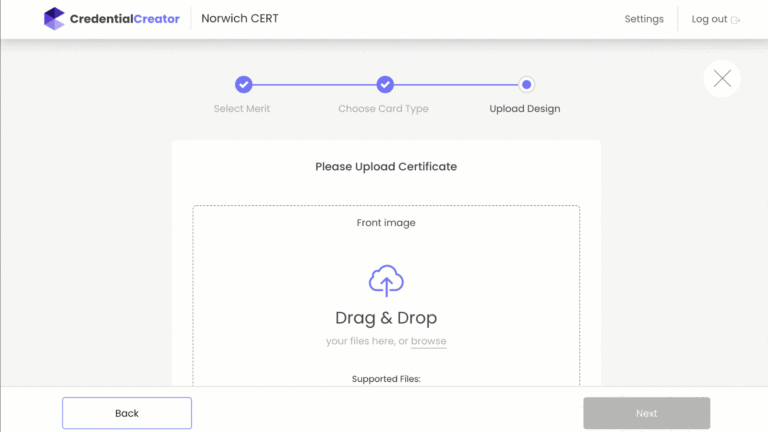
Upload your background image by either dragging and dropping the file or browsing and selecting the file on your computer. Click Next. This will bring you into the credential editing interface.
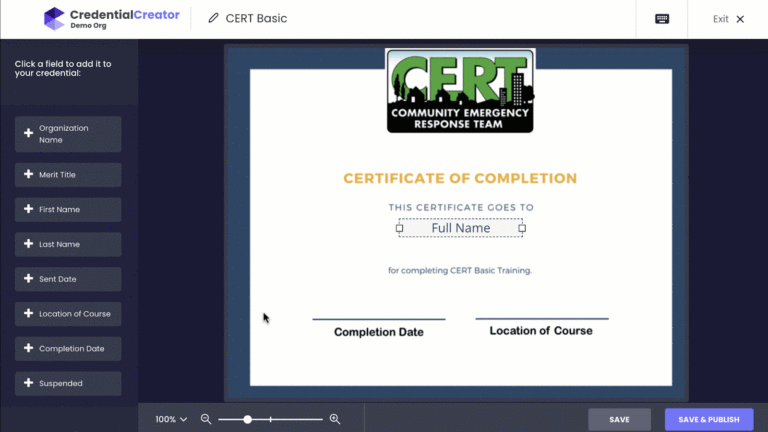
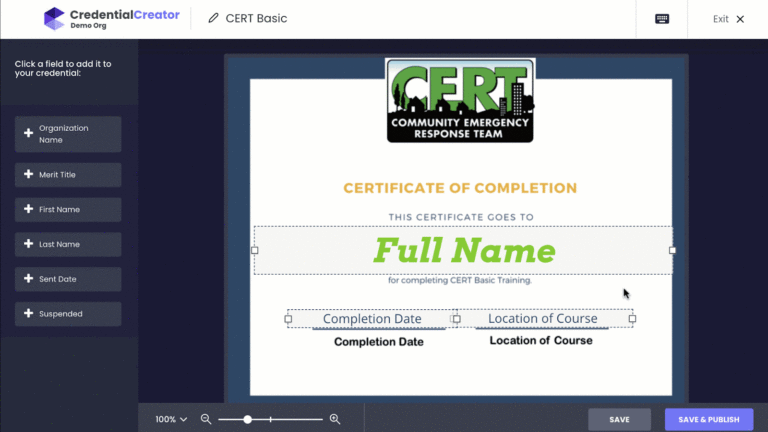
The fields from the merit template will appear in the left sidebar. Click on individual field names to add them to the editing interface. The fields can then be clicked and dragged to change their position.
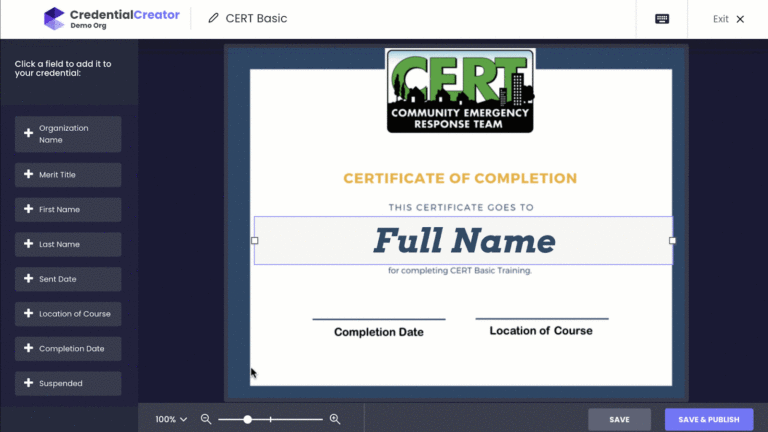
After clicking on a single field within the editor click on the A to adjust font, size, color, and text alignment. Click and drag the edges to adjust the width of the text box to accommodate long names or other field values.
When finished, click Save & Publish. A custom digital certificate will be generated and attached to each merit that is issued from this merit template, both merits that have already been issued as well as merits that are sent in the future.
Anyone who receives a merit that has a digital certificate from Credential Creator will be able to view the digital certificate when opening up their merit information, either on the Merit site or the Merit app.
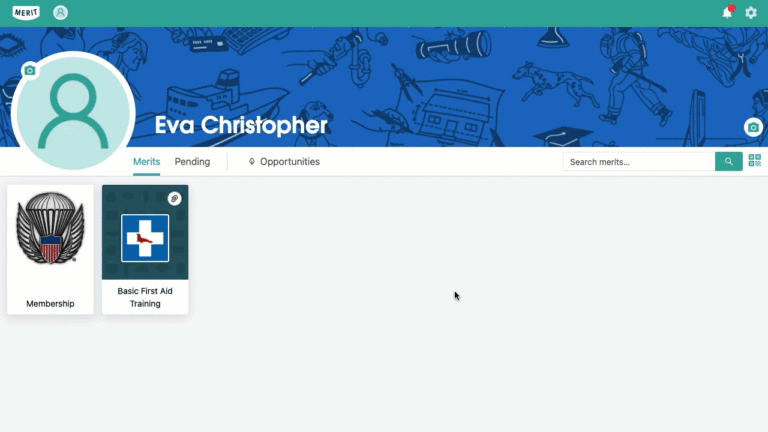
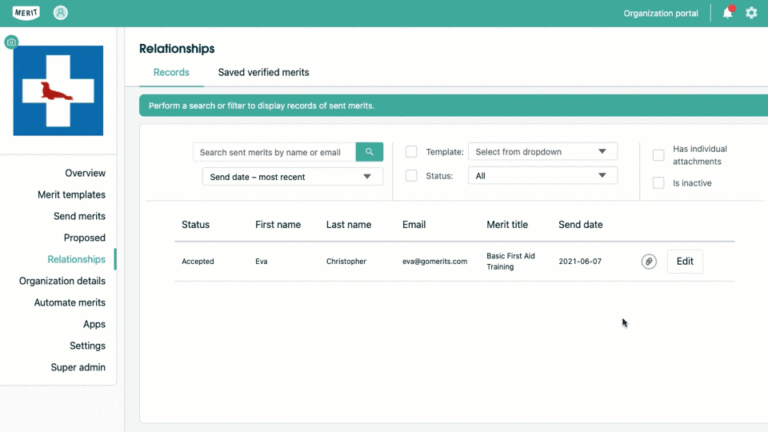
As an organization admin, you can also view these digital certificates attached to your sent merits in the Relationships section of the Organization Portal.