Help Center » How to automate merits by uploading a spreadsheet
Menu
Help Center » How to automate merits by uploading a spreadsheet
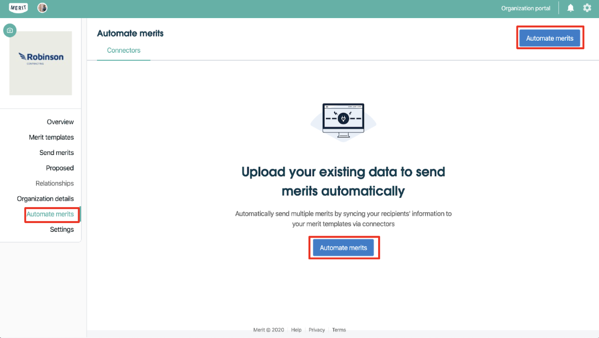
3. Create a connector by selecting where you store your recipients’ information. Click on Spreadsheet from my computer.

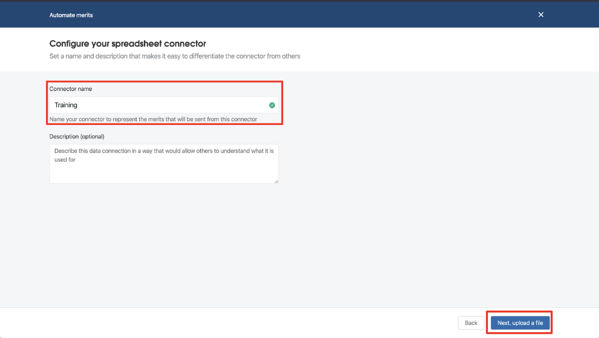
4. Name your connector to represent the merits that will be sent from this connector.
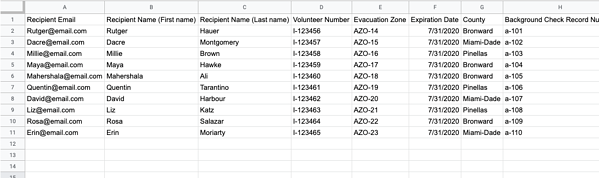
5. Create a .csv file that includes all of the fields associated with that merit template, as well as fields that need to be filled out. There must be fields for Email, First Name, and Last Name. Fill in your .csv file with your member information. Do not delete the column headers or the .csv file may not import appropriately.
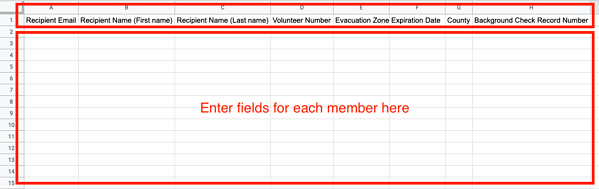
A note on date formatting: All date fields must be of the format YYYY-MM-DD. E.g. “2020-05-14” for May 14 2020. Formatting the date differently will cause an error.
6. Once you have completed your file, make sure that it’s saved as a .csv (comma-separated values) file.
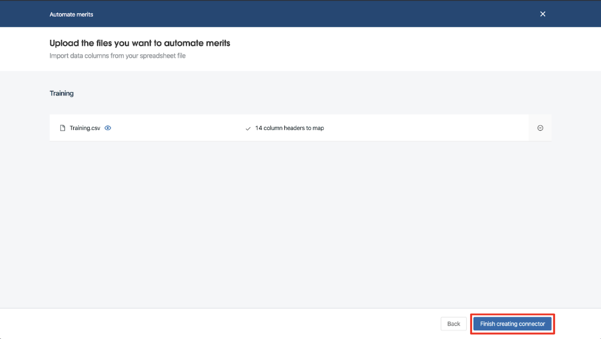
7. Drag or click to upload your spreadsheet.
Import view:
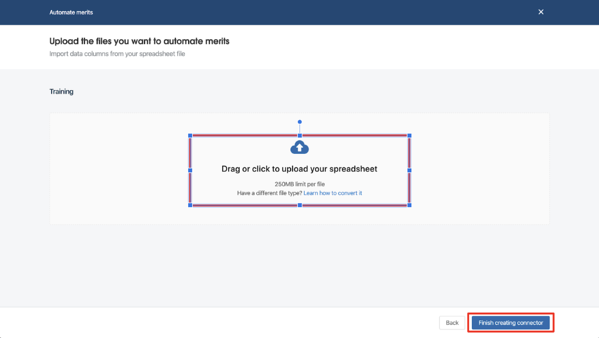
8. Click Finish creating connector.
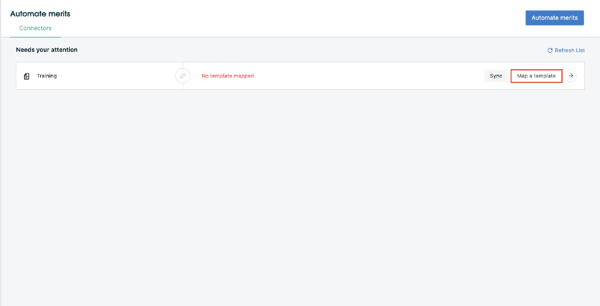
9. Select Map a template in the connector you just created.
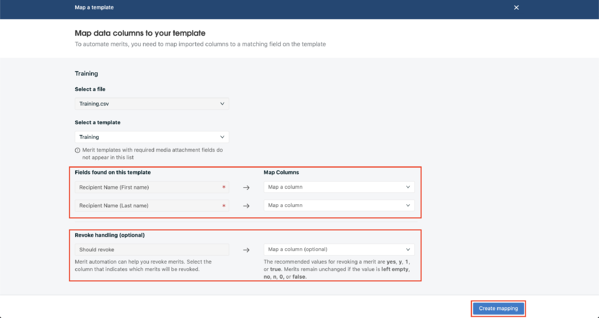
10. Merit then directs you to Select a template and map your column headers with the fields found on the merit template. Once the .csv file is successfully mapped, click Create mapping.
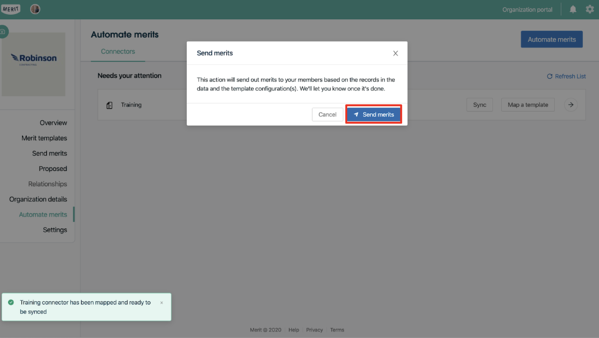
11. The page will return to the Automate merits screen and a window will pop up that asks you to send merits. Click Send merits to complete the process or Cancel to go back.
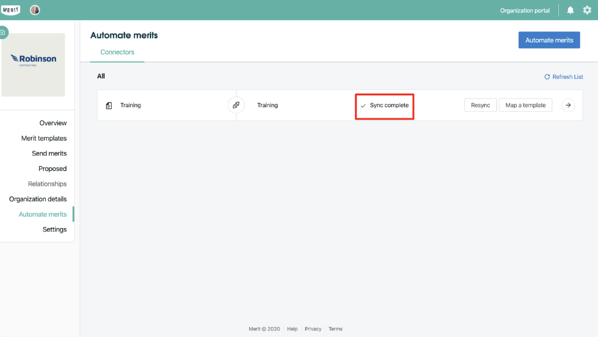
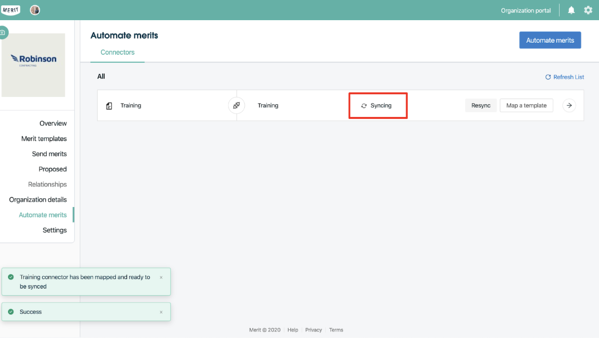
12. The connector will now show the file as Syncing. The length of this process will depend on the size of your file.
13. Once this process is complete, the Syncing will change to Sync complete.